

How it fits together
- Your organization is the account: the balance, invoices and your team. It has no lanes of its own.
- Each workspace holds one client’s work: lanes, keywords, websites, lists, API keys, webhooks and leads. Clients never see each other’s.
- Every workspace spends your organization’s balance, and all of them count together toward the monthly price tiers, so more clients means a lower price per person.
Set up a client
1
Create the workspace
In the workspace switcher at the top left, choose New workspace. Or open the organization (Organization settings in the switcher), then Workspaces. Type the client’s name and create it. Only owners can create workspaces.
2
Build the client's lanes
Open the workspace and build lanes as usual: see Your first intent lane and Build a list with Search. Add the client’s customers and competitors to Lists → Do not contact, and their target accounts to Lists → Target accounts. Both lists belong to the workspace.
3
Set a monthly budget
On the workspace’s page under Workspaces, set its Monthly budget in dollars: what it can spend each billing month, across intent leads, search results and website visitors. Leave it empty for no limit. When a workspace has used its budget, its exports stop at what’s left and its websites pause until next month, and both the workspace and the organization get an email.
4
Connect the client's tools
In the workspace, Settings → API keys creates a key that works in that workspace only, and Settings → Webhooks sends removal requests and website visitors to the client’s own endpoints. Or use one organization key for all clients, naming the workspace on each request.
5
Decide who sees what
Your team sees every workspace. To give the client a login, use Invite your client on the workspace’s page under Manage: an owner invite link that adds them to that workspace only. Clients never see your organization’s balance: only what their workspace spent this month and what’s left of its budget. Or keep them out, and send CSVs.
Who sees what
- Organization users (your team) open every workspace with their organization role, and get new workspaces automatically. Manage them under Users in the organization.
- Workspace users (the client’s staff) are invited to one workspace and see only that one: never your organization, its other workspaces or its billing.
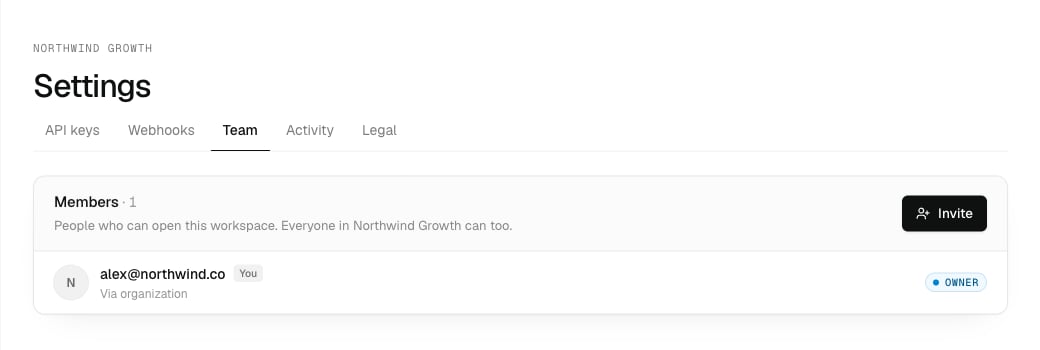
A workspace's Team tab. People with Via organization come from your team.
Billing and budgets
- Top-ups, the automatic top-up and invoices are managed in the organization only. Workspaces can’t add funds.
- Billing in the organization shows each workspace’s people and dollars this month. Inside a workspace, your team can open ⌘K → Billing to see what that workspace spent, where it went by lane, and the organization balance it draws on.
- Each workspace keeps its own record of who it exported: someone exported in two client workspaces counts, and is charged, once in each.
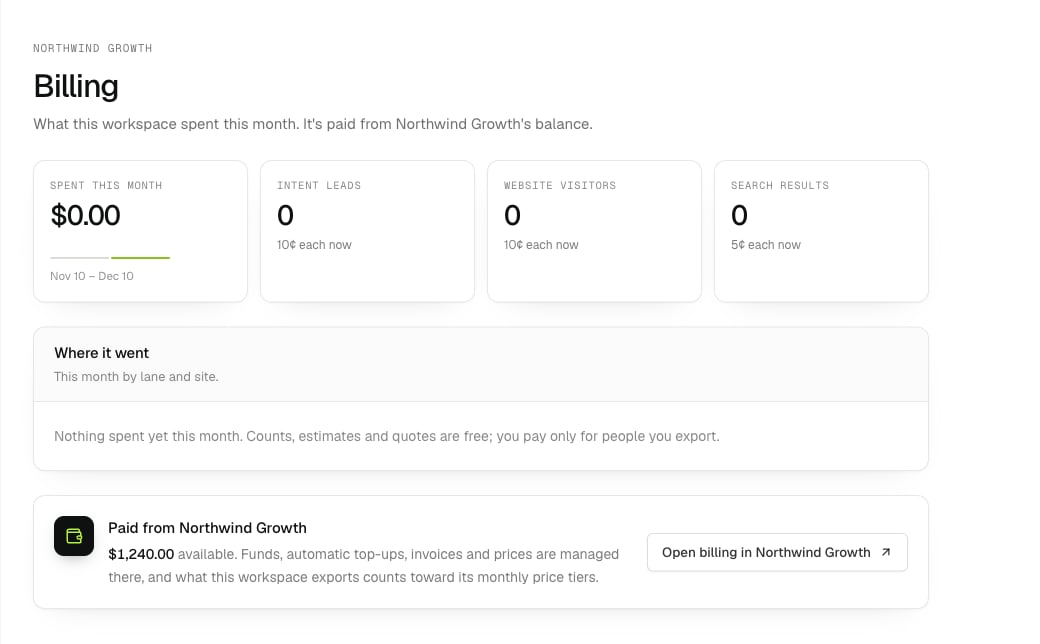
A workspace's Billing: its spend this month, paid from the organization's balance.
Hand a workspace over
When a client wants to run things themselves, they open their own Intent Leads organization and top it up. Then:- Transfer moves the workspace, with its lanes, keywords, websites, lists, leads and keys, to their organization. On the workspace’s page, Transfer gives you a one-time code, valid for 14 days. The client enters it under Workspaces → Have a transfer code? From then on, their balance pays.
- Release turns the workspace into a separate organization that pays for itself.
"keep_previous_members": true. See Move one to another organization for the details and the API.
Removals and the terms
- Removal requests reach each workspace on its own: its Activity, the API and its webhooks. Route them to the client’s systems; they must delete the person within 10 business days, including anywhere you passed them on. See Removal requests.
- Clients can use the data for their own outreach. Neither you nor they can use it to build a competing data product. See the terms.
Checklist for a new client
- Workspace created and named after the client.
- Monthly budget set.
- Do not contact filled with their customers and competitors.
- Lanes built and checked: example matches look right.
- Keys and webhooks pointing at the client’s tools, or a plan to send CSVs.
- Removal requests routed to whoever holds the data.